Install FreeBSD 13.1
2022 07 01
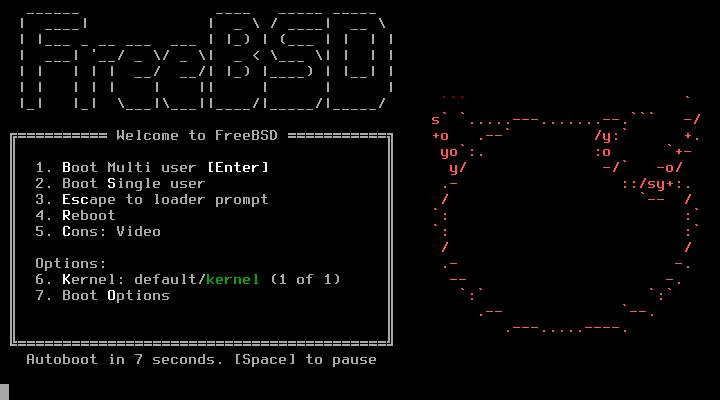
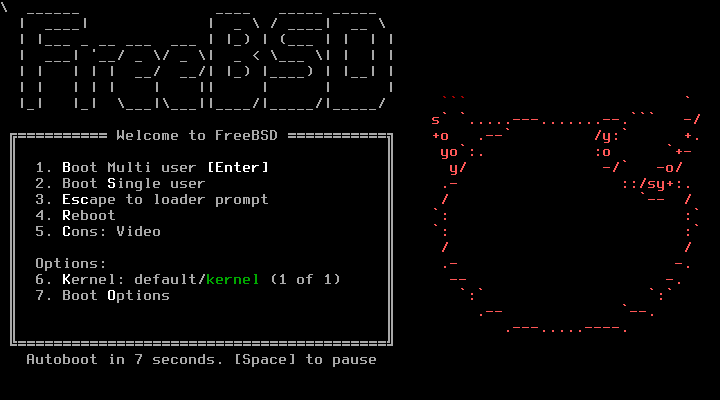
Boot your system with FreeBSD installation media (iso, cd, usb). You will see the FreeBSD Boot Loader menu.
Press 1 (number one) or press the ENTER key to start the FreeBSD installation.
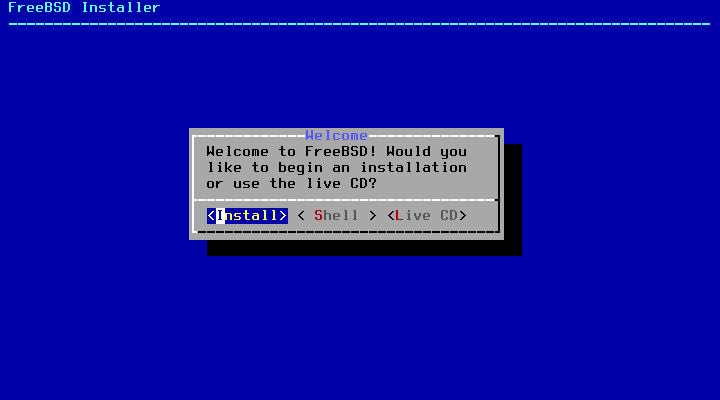
You will be prompted to choose one of the three options. Install, Shell, Live CD.
Press ENTER to Install FreeBSD on your hard drive.
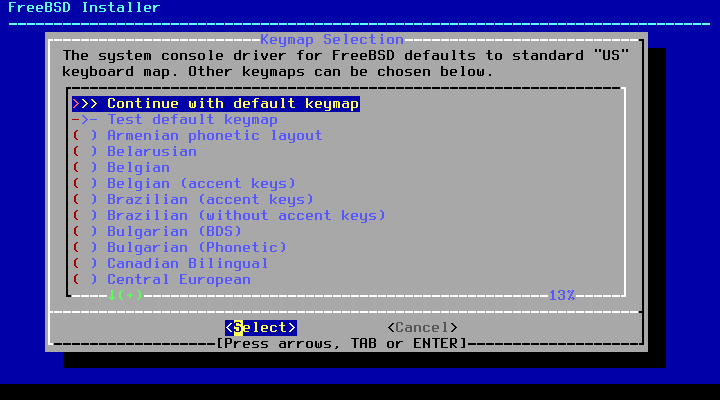
Select your preferred keymap.
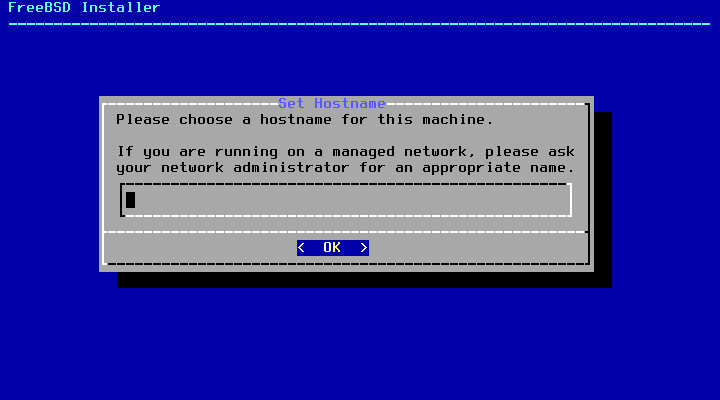
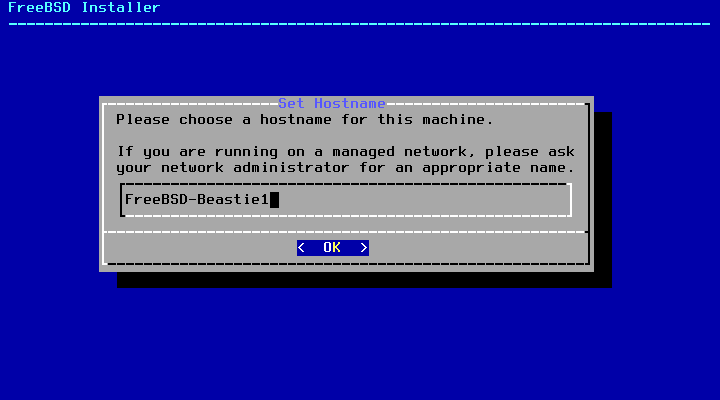
Enter a hostname for your FreeBSD system.
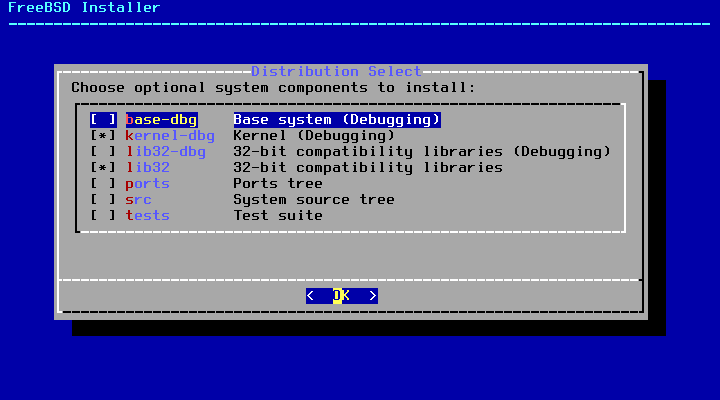
Choose the optional system components that you want to install.
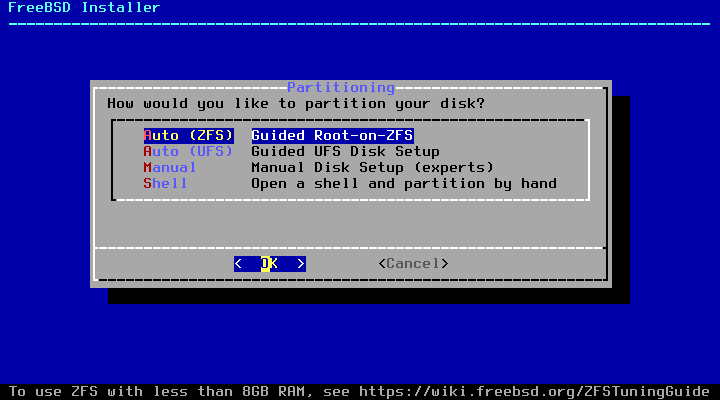
Choose how you want to partition the drive.
Auto (ZFS) - Automatically partitioned with ZFS filesystem.
Auto (UFS) - Automatically partition the disk with UFS filesystem.
Manual - Create customized partitions.
Shell - Customized partition setup using command line tools.
Choose a partitioning method.
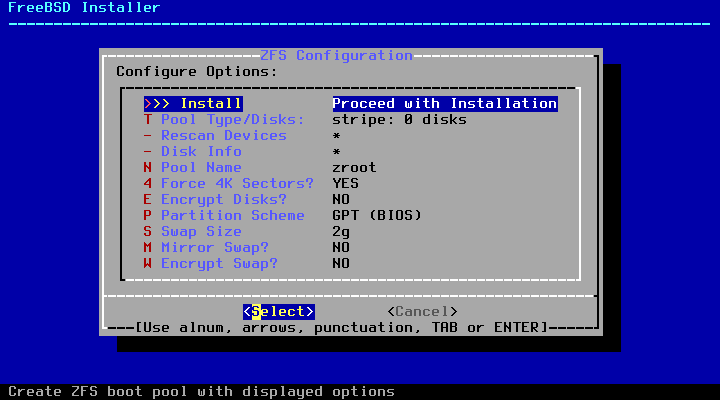
Once partitioning is completed choose the
">>> Install Proceed with Installation"
option and select ENTER to continue.
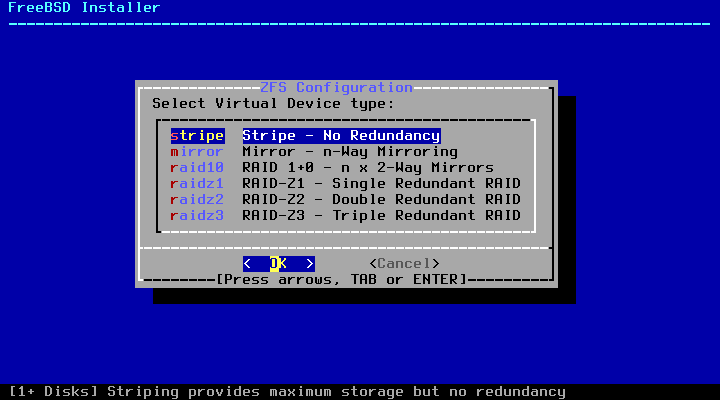
FreeBSD installer provides six ZFS configuration methods.
Choose the best method for your needs.
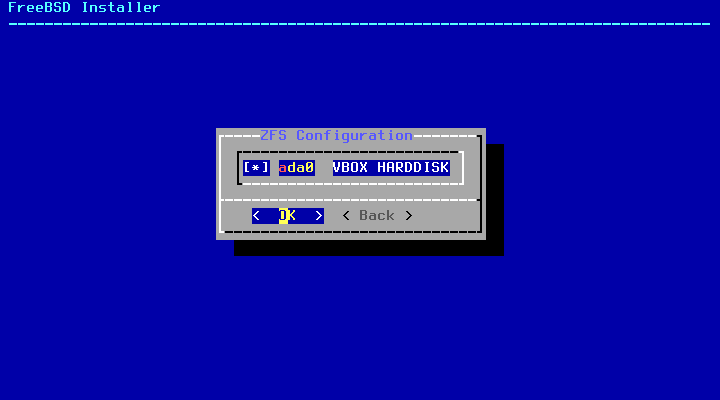
Once the partitioning method is selected, a list of available disk drives will be listed.
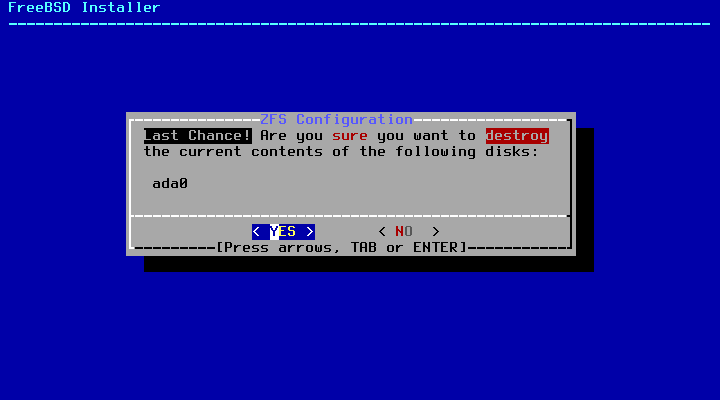
You will see a warning message that states the contents of the selected disk(s) will be deleted. If you are 100% sure, choose "Yes" and and hit ENTER key to continue.
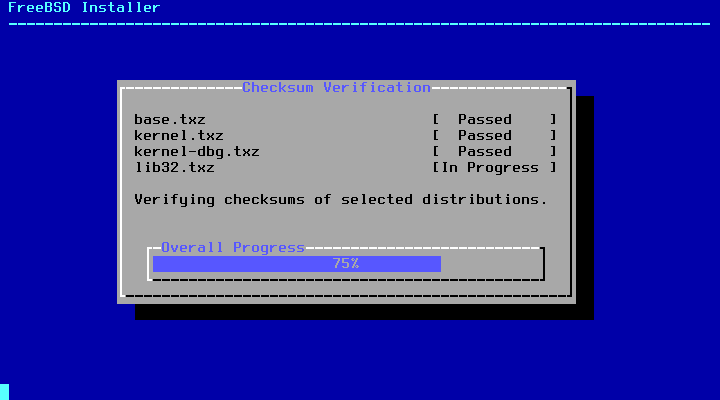
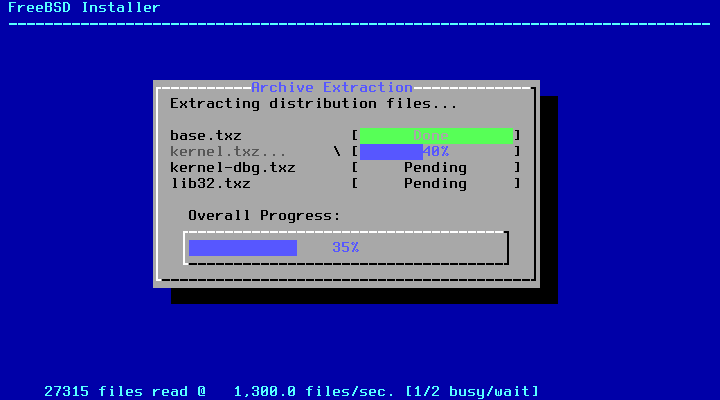
FreeBSD installation will begin now. It will take a few minutes to complete.
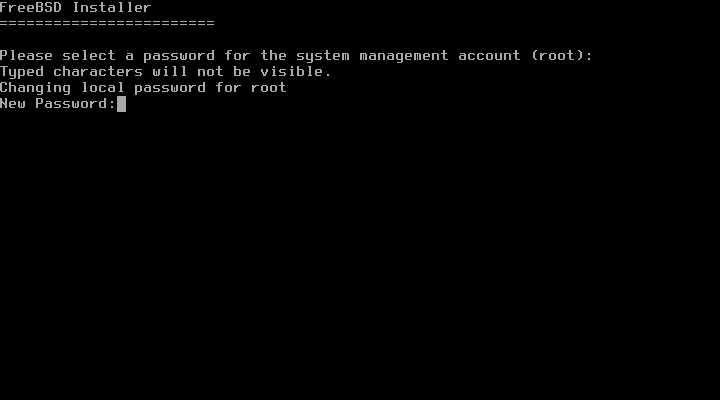
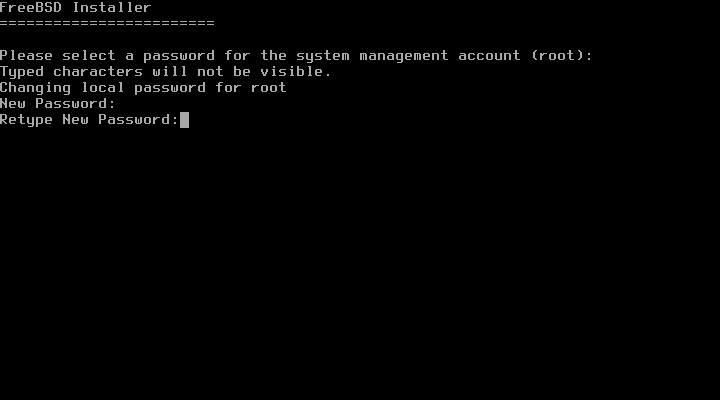
After FreeBSD installation is completed, you will be prompted to set a password for the root user.
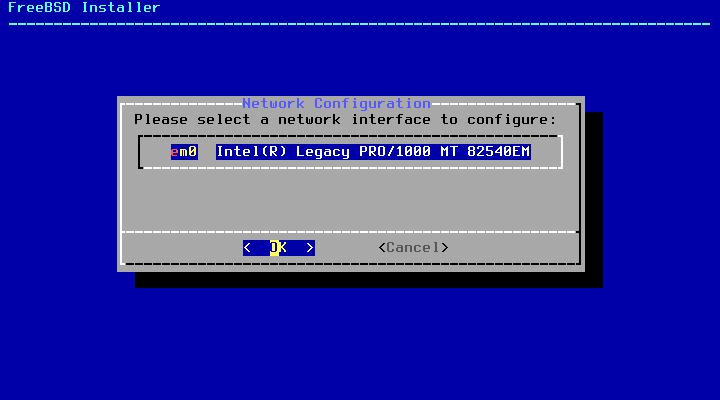
Choose a network interface to configure.

Choose "Yes" to configure IPv4.
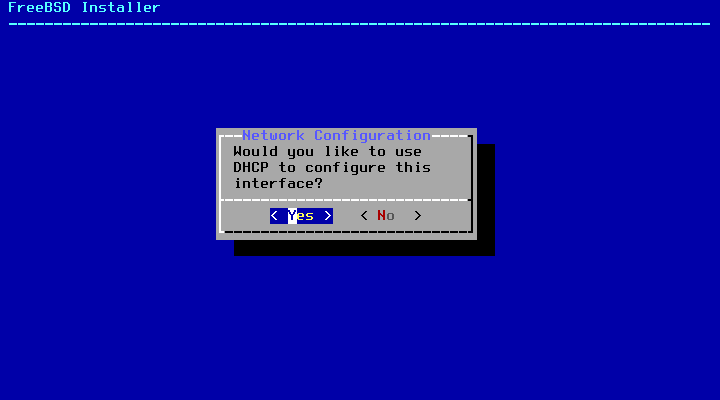
If you don't have a local DHCP server choose "No".
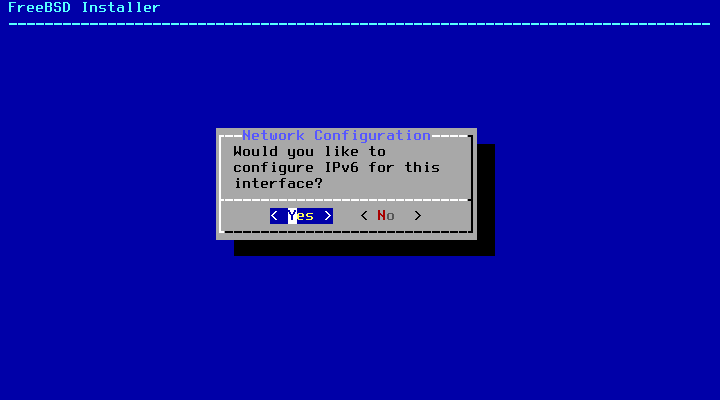
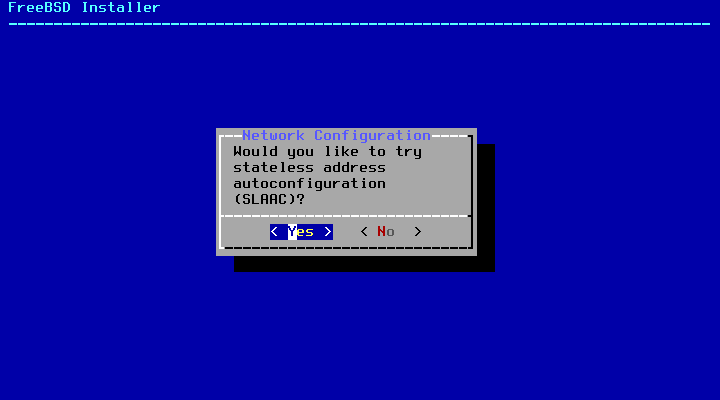
Next, you will be asked if you want to configure IPv6 for the network interface.
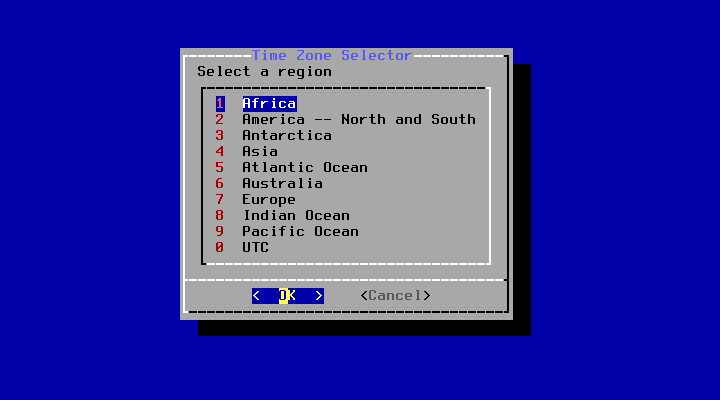
Select your geographical region and press ENTER.
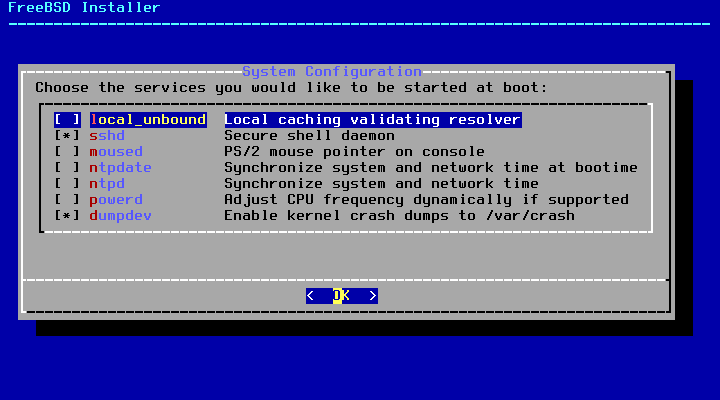

Choose the services that you'd like to be started at system reboot.
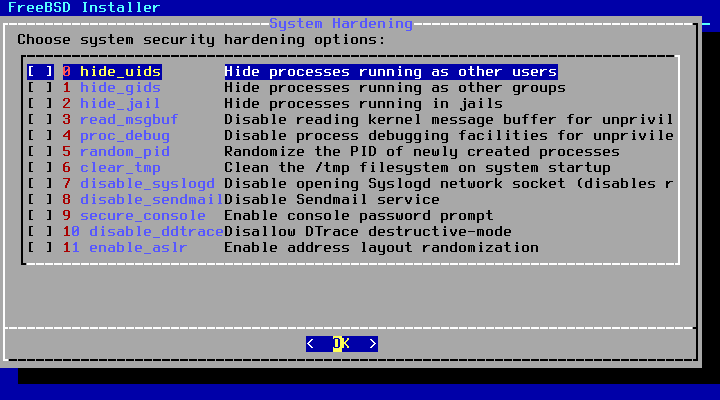
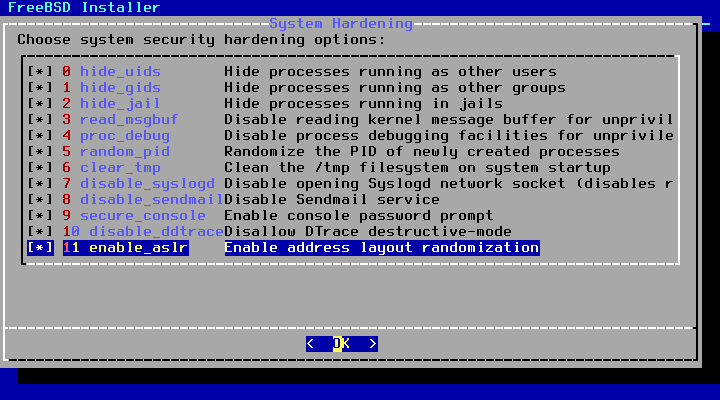
Choose the system hardening options that you'd like to apply on your FreeBSD systems.

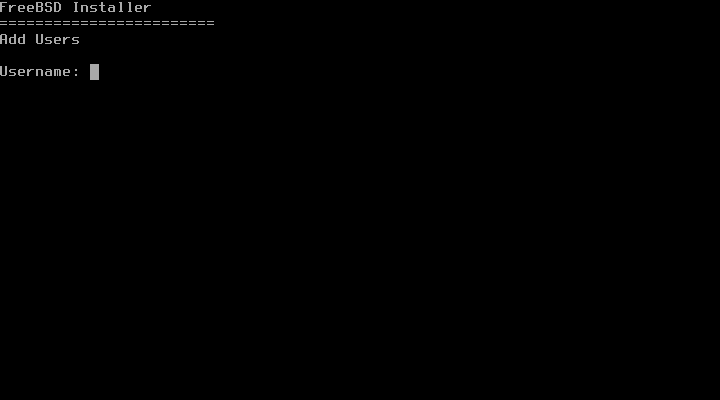
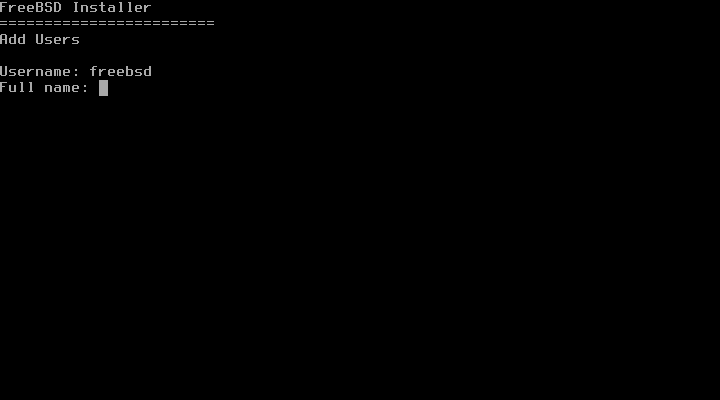
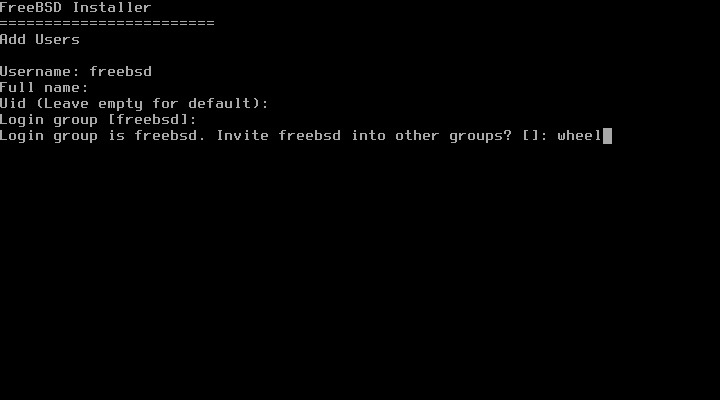
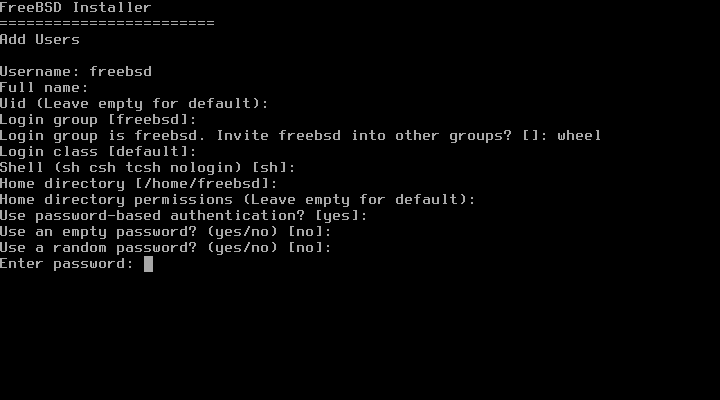
Select "Yes" if you wish to add a new user to your system.
Enter the user details: username, full name, password etc. Review the user details and type "yes" and press ENTER to create the user.
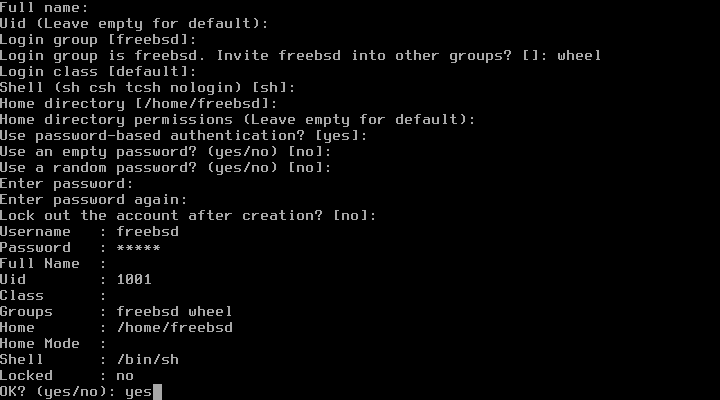
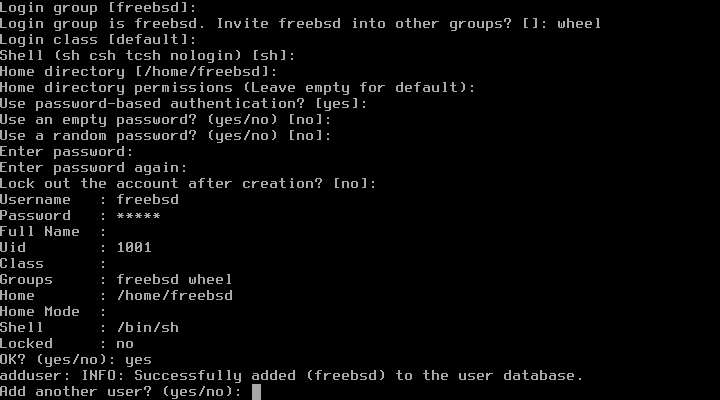
If you want to create more users, type "yes" and enter the details of the new user. If you don't want to add more users, type "no" and press ENTER.
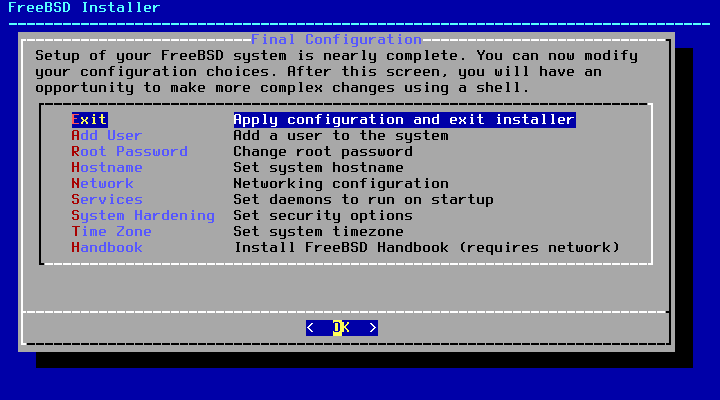
You can now modify the configuration choices that you made throughout the installation process. If you don't want make any changes, simply choose "Exit" and hit ENTER.
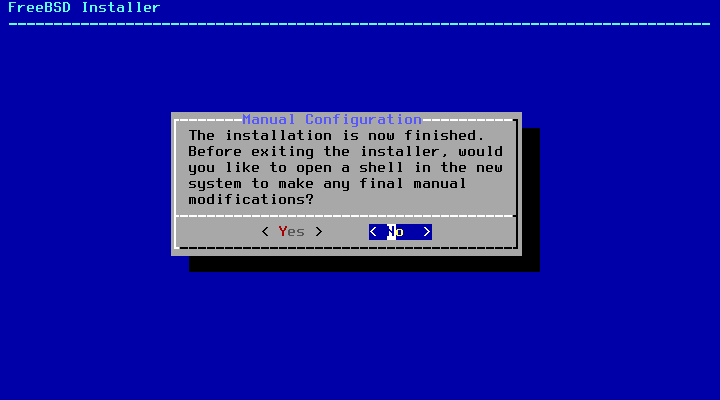
FreeBSD installation is finished! Choose "no" and press ENTER.
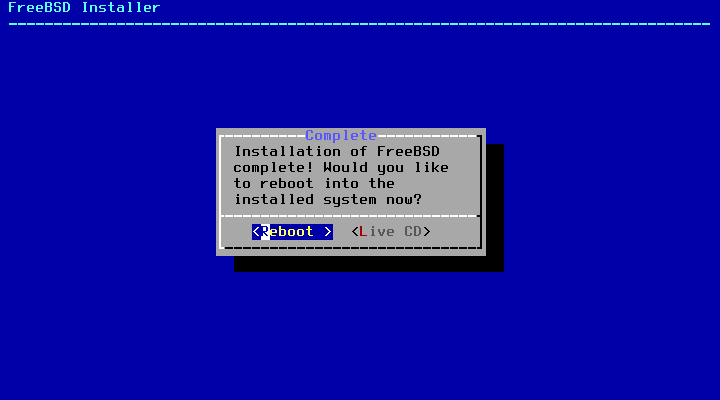
Reboot into the newly installed FreeBSD system.
Login to the FreeBSD system as root user.
Update the FreeBSD system, run the following command as root:
# freebsd-update fetch install
To install the pkg application for software installation, run the following command as root:
# pkg update
Note: If this process seems to be taking a long time, press ctrl + c, then run the following command:
# pkg -4 update
This will have pkg run over an ipv4 connection instead of ipv6, which in some cases ipv6 does not work correctly.